Mexico
Occasionally we hear people say that “cutting rings are not secure!” However, this is neither logical nor correct, because cutting ring connections are perfectly secure if the fitting instructions are followed.
Step 1: Preparations
You first select a suitable pipe with the right diameter, for example a precision steel pipe in accordance with EN 10305-4, together with the corresponding cutting ring and union nut.
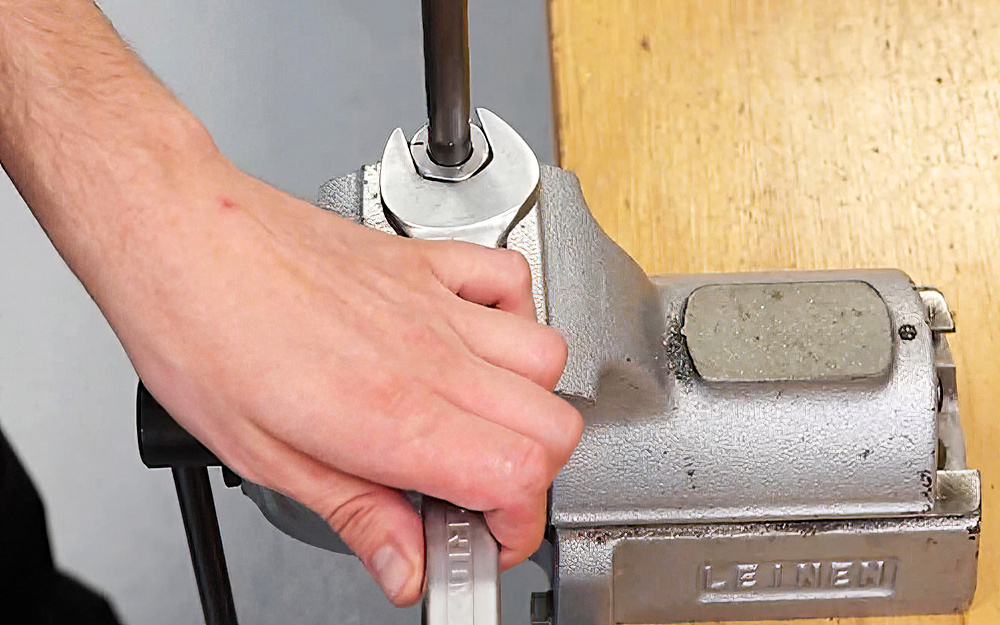
The appropriate tools for fitting the cutting ring should also be at hand: a stable workbench with a vice, a cutting device or saw suitable for the job, pre-assembly connecting pieces, a suitable ring spanner, file, manual deburrer, oil, measuring equipment and a pair of gloves as PPE. You should also have a pencil handy to make markings.
In order to remove any existing and accumulated dirt in and on the hydraulic pipe, it is essential to use a cleaning device such as a blow gun and cleaning projectiles.
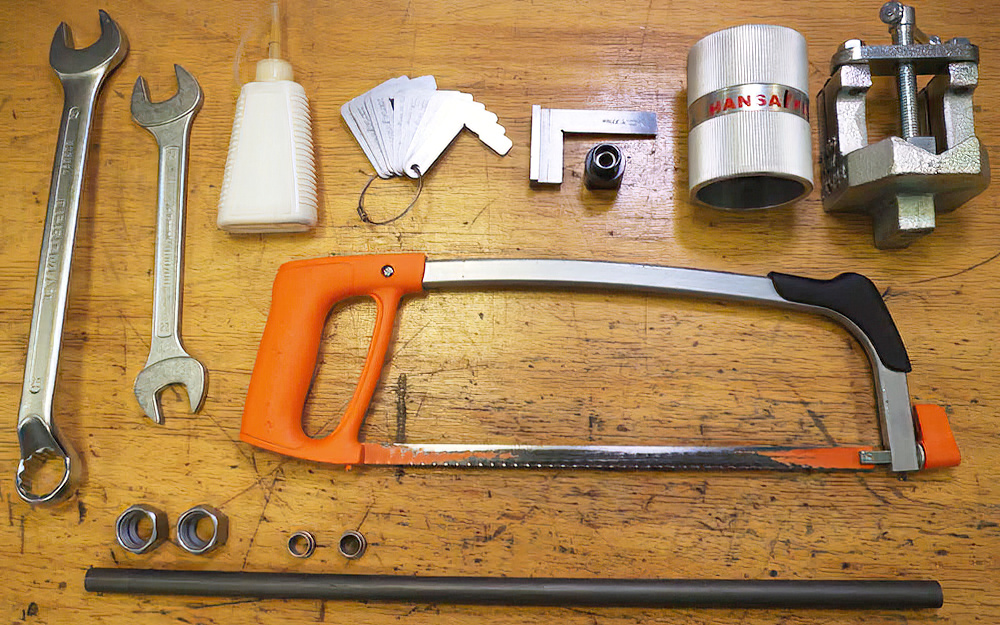
The right tool for successful cutting ring assembly.
Step 2: Cutting, deburring, cleaning
The hydraulic pipe is now cut to the required length at right angles. To remove the burrs that inevitably occur, we recommend using a manual deburrer which can be used to deburr the inside and outside of the hydraulic pipe quickly and easily. Burrs on the ends can also be removed with the file if necessary.
However, you should never addtionally use a bench grinder or a cordless drill with a countersink bit. There is too great a risk that the maximum bevel of 0.2 x 45° will be exceeded. To clean the hydraulic pipe, we recommend cleaning projectiles which are shot through the pipe using a special blow gun.
However, you should never addtionally use a bench grinder or a cordless drill with a countersink bit. There is too great a risk that the maximum bevel of 0.2 x 45° will be exceeded. To clean the hydraulic pipe, we recommend cleaning projectiles which are shot through the pipe using a special blow gun.
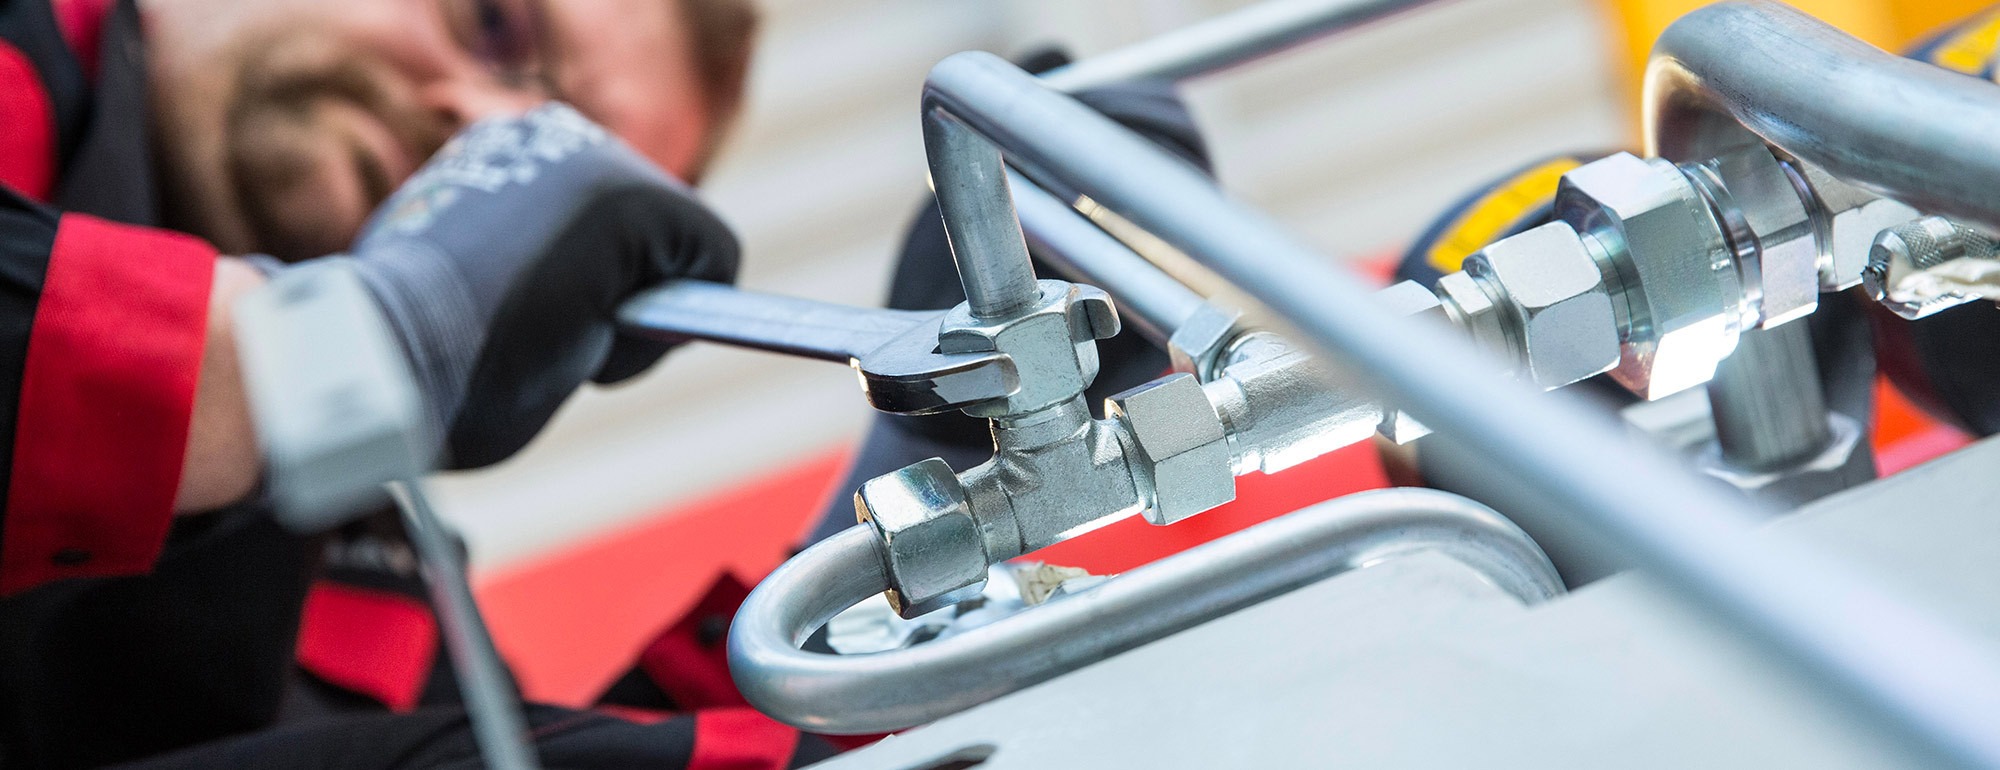
Step 3: Pre-assembly and final assembly
[Translate to Englisch:] Nun wird der Vormontagestutzen in den Schraubstock eingespannt und dessen Gewinde mit einem Tropfen Öl geschmiert. Dadurch fällt die Montage leichter und die Gewinde werden vor Verschleiß bewahrt. Anschließend werden Mutter und Schneidring so auf das Rohr geschoben, dass u.a. die Schräge des Schneidringes zum Rohrende zeigt. Jetzt kann das Rohr bis zum Anschlag in den Vormontagestutzen gesteckt und die Überwurfmutter samt Schneidring bis zum deutlich fühlbarem Kraftanstieg aufgeschraubt werden.
Die Überwurfmutter und ein Fixpunkt am Schraubstock bzw. Vormontagestutzen sollte nun mit einem Strich in einer Flucht markiert werden. Da für die korrekte Vormontage mit dem Ringschlüssel min. 1 ¼ Umdrehungen der Überwurfmutter notwendig sind, bietet sich dadurch eine optische Kontrollmöglichkeit, wenn während der Montage mehrere Male der Ringschlüssel umgesetzt werden muss. Die Kontrolle der richtigen Vormontage erfolgt anschließend anhand der 80%igen Überdeckung – auch Bundaufwurf genannt – der Schneidringstirnfläche.
Die Fertigmontage erfolgt dann in der Regel an der Maschine bzw. Anlage. Dabei wird die vormontierte Hydraulik-Rohrleitung nach dem Aufdrehen bis zum deutlich spürbarem Kraftanstieg mit einer zusätzlichen Viertelumdrehung festgezogen und die Verbindung damit endmontiert.
Caution: Over-tightening
Unfortunately, in practice the specified degree of tightening is not always adhered to. If the cutting ring connection is tightened too much or too little, leaks can occur or the cutting ring can become detached from the hydraulic pipe, which can have unpleasant consequences for people and the environment. The statement that “cutting rings are not secure!” is accordingly neither logical nor correct. The cutting ring connection will be secure if the instructions for assembly are followed.
When tightening the connection, the rule is: too much of a good thing will damage the connection. In the worst case scenario, this can lead to leaks.
-

Matthias Müller
Trainer for line technology and hydraulic oils (IHA)